
How to Properly Install Gypsum List
Introduction
Gypsum lists are an essential component when it comes to creating beautiful and functional ceilings. They provide a clean finish and help to hide any imperfections or inconsistencies in the ceiling surface. In this article, we will guide you through the steps on how to properly install gypsum lists to achieve the desired results. Whether you are a DIY enthusiast or a professional contractor, this guide will help you master the art of gypsum list installation. Let’s get started!
1. Gather the necessary tools and materials
Before you begin the installation process, it is important to gather all the required tools and materials. Here is a list of items you will need:
- Gypsum lists
- Measuring tape
- Pencil
- Level
- Hammer
- Nails
- Miter saw or miter box
- Safety goggles
- Gloves
Make sure you have all these items ready before you start installing the gypsum list.
2. Measure and mark the ceiling
Before you install the gypsum list, you need to measure and mark the ceiling to determine the placement of the lists. Use a measuring tape and pencil to mark the desired positions on the ceiling. Make sure to measure accurately and mark the spots where the gypsum lists will be installed. This step is crucial to ensure that the lists are installed evenly and symmetrically.
3. Cut the gypsum lists
Next, you need to cut the gypsum lists according to the measurements you took in the previous step. Use a miter saw or a miter box to make precise cuts. Remember to wear safety goggles and gloves to protect yourself during this process. Cut the gypsum lists at a 45-degree angle for corners and at a straight angle for straight sections. Take your time to ensure accurate cuts for a seamless installation.

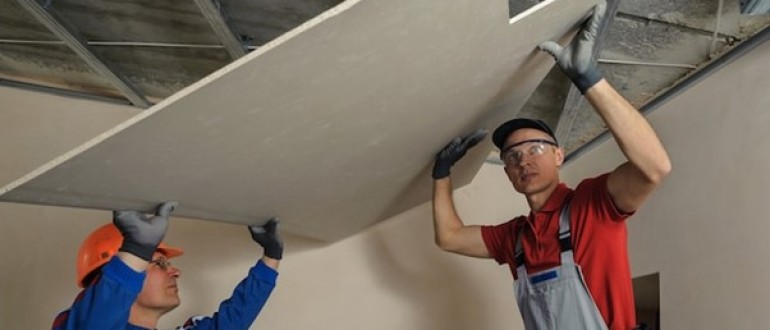
4. Install the first gypsum list
Start by installing the first gypsum list on one side of the ceiling. Apply a thin layer of adhesive on the back of the list and press it firmly against the ceiling, aligning it with the marked position. Use a level to ensure that the list is perfectly straight. Once you are satisfied with the placement, attach the list to the ceiling using nails. Hammer the nails at an angle to secure the list in place.
5. Install the remaining gypsum lists
Continue the installation process by attaching the remaining gypsum lists in the same manner as the first one. Apply adhesive, align the list with the marked positions, and use a level to ensure accuracy. Hammer nails at an angle to secure the lists. Take your time during this step to ensure that all the lists are installed evenly and create a seamless appearance.
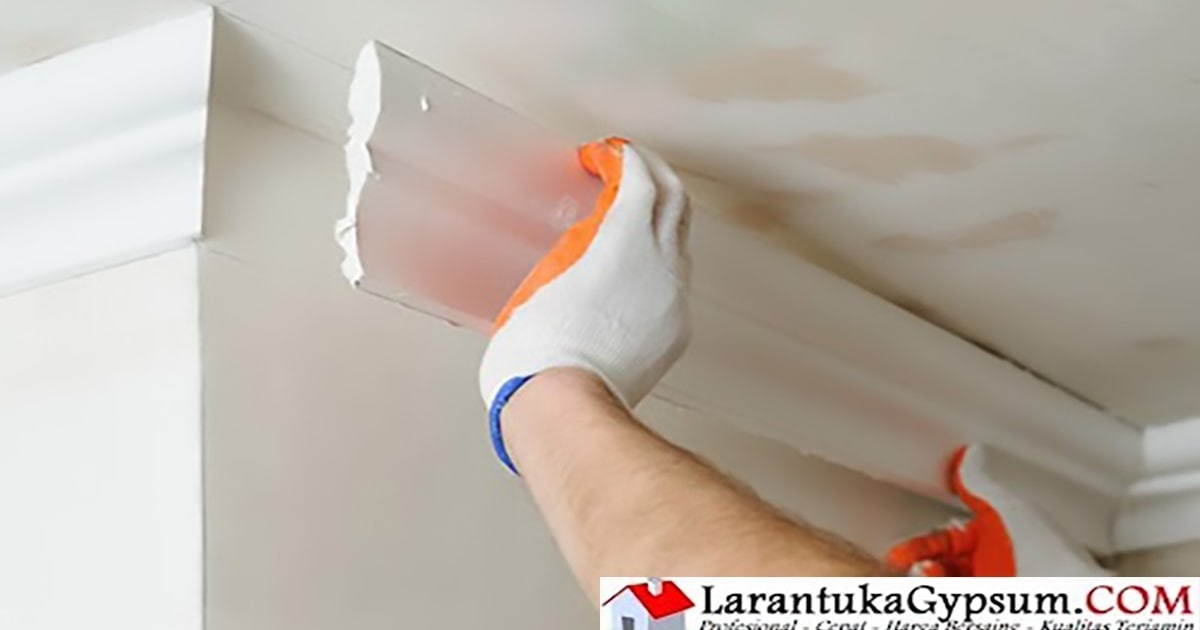
6. Finishing touches
Once all the gypsum lists are installed, inspect the ceiling for any visible gaps or imperfections. Fill any gaps or cracks with joint compound using a putty knife. Allow the compound to dry and then sand it down until it is smooth and blends seamlessly with the rest of the ceiling. Once the surface is dry and smooth, you can paint the gypsum lists to match the overall color scheme of the room.
Congratulations! You have successfully installed gypsum lists on your ceiling. Step back and admire the beautiful transformation they have brought to your space.
Conclusion
Gypsum list installation is a rewarding process that can enhance the overall aesthetics of your ceiling. By following the steps outlined in this guide, you can achieve professional-looking results. Remember to measure accurately, make precise cuts, and take your time during the installation process. With proper installation and finishing touches, your gypsum lists will create a stunning and polished look that will elevate the beauty of any room. Happy decorating!
If you are looking for 6 Langkah Praktis Cara Pasang Profil List Les Lis Gypsum Pada Plafon you’ve came to the right web. We have 3 Pictures about 6 Langkah Praktis Cara Pasang Profil List Les Lis Gypsum Pada Plafon like Begini Cara Pasang List Gypsum yang Tepat | CV Karunia, Cara Pasang List Gypsum – Contoh Lis Gypsum – 1600×1200 Wallpaper and also Begini Cara Pasang List Gypsum yang Tepat | CV Karunia. Here you go:
6 Langkah Praktis Cara Pasang Profil List Les Lis Gypsum Pada Plafon
www.larantukagypsum.com
Cara Pasang List Gypsum – Contoh Lis Gypsum – 1600×1200 Wallpaper
www.teahub.io
Begini Cara Pasang List Gypsum Yang Tepat | CV Karunia
cvkarunia.com
Cara pasang list gypsum. 6 langkah praktis cara pasang profil list les lis gypsum pada plafon. Begini cara pasang list gypsum yang tepat