
Title: How to Assemble a Simple Power Amplifier – Electrical and Electronics Knowledge
Introduction
Power amplifiers play a crucial role in the world of audio amplification. Their main purpose is to amplify a low-power audio signal, such as from a microphone or a musical instrument, into a high-power signal that can be used to drive loudspeakers or other audio devices. In this article, we will guide you on how to assemble a simple power amplifier, providing you with the necessary knowledge and steps to complete this project successfully.
Understanding the Basics
Before we delve into the process of assembling a power amplifier, it is important to have a basic understanding of its components and how they work together.
1. Power Supply
The power supply is responsible for providing the necessary voltage and current to the amplifier circuit. It typically consists of a transformer, rectifier, and filter capacitors. The transformer steps down the voltage from the mains supply to a suitable level, while the rectifier converts the alternating current (AC) to direct current (DC). The filter capacitors then smooth out the DC voltage, ensuring a stable power supply for the amplifier.
2. Pre-Amplifier
The pre-amplifier is responsible for amplifying the low-level audio signal received from the source. It prepares the signal for further amplification in the power amplifier stage. It typically consists of a circuit that amplifies the signal while maintaining its fidelity and minimizing any unwanted noise or distortion.
3. Power Amplifier Stage
The power amplifier stage is where the actual amplification of the audio signal takes place. It receives the amplified signal from the pre-amplifier and increases its power to a level suitable for driving speakers or other audio devices. Power amplifiers come in various configurations, such as Class A, Class AB, Class D, etc., each with its own advantages and disadvantages.
4. Output Stage
The output stage of a power amplifier is responsible for driving the speakers or audio devices. It matches the amplifier’s output impedance with the speaker impedance to ensure maximum power transfer and minimize any distortion or loss of signal quality.
5. Heat Sink
Power amplifiers generate a significant amount of heat during operation. A heat sink is used to dissipate this heat and prevent the amplifier from overheating. It typically consists of a metal plate or fins that increase the surface area exposed to the surrounding air, allowing for efficient heat dissipation.
Step-by-Step Guide on Assembling a Simple Power Amplifier
Step 1: Gather the Required Components
Before starting the assembly process, make sure you have all the necessary components and tools. Some of the essential components you will need include:
- Power supply transformer
- Rectifier diodes (typically in a bridge configuration)
- Filter capacitors
- Audio input connectors
- Volume and tone control knobs
- Power amplifier integrated circuit (IC)
- Output transistors
- Heat sink
- Speaker connectors
- Wires, soldering iron, and solder
Step 2: Design the Circuit
Before proceeding with the assembly, it is important to design the circuit for your power amplifier. This will involve selecting the appropriate schematic or circuit diagram, determining the component values, and ensuring compatibility between the different components.
Step 3: Build the Power Supply
Start by building the power supply for the amplifier. Connect the power supply transformer to the rectifier diodes and filter capacitors according to the circuit diagram. Take necessary precautions while dealing with high-voltage components and ensure proper insulation and grounding to avoid any electric shock hazards.
Step 4: Assemble the Pre-Amplifier Stage
Next, assemble the pre-amplifier stage. Connect the audio input connectors, volume, and tone control knobs, and the pre-amplifier circuit according to the circuit diagram. Take care to ensure that the connections are secure and free from any loose wires or solder joints.
Step 5: Build the Power Amplifier Stage
Now, it’s time to assemble the power amplifier stage. Connect the power amplifier integrated circuit (IC), output transistors, and necessary resistors and capacitors according to the circuit diagram. Pay attention to the pin configurations of the components and ensure proper connections to avoid any circuit malfunctions.

Step 6: Connect the Output Stage and Heat Sink
Solder the output transistors to the output stage circuit and connect it to the power amplifier stage. Ensure a sturdy and secure connection, as this stage will be responsible for driving the speakers. Attach the heat sink to the output transistors to prevent overheating during operation.
Step 7: Connect the Power Supply and Test
Connect the power supply to the amplifier circuit and ensure proper wiring and insulation. Double-check all the connections and ensure that there are no loose wires or solder joints. Gradually apply power to the amplifier while monitoring its operation. Ensure that all stages are functioning correctly and there are no unusual noises or distortions.
Step 8: Mount the Amplifier in a Suitable Enclosure
Once the amplifier is tested and operational, mount it in a suitable enclosure. Ensure proper ventilation and cooling for the heat sink and components. Make sure all the input and output connectors are securely mounted and easily accessible.
Step 9: Connect the Speakers and Enjoy
Finally, connect the speakers to the amplifier using suitable speaker connectors. Ensure the correct polarity and impedance matching for optimal sound quality. Power on the amplifier, play your favorite music or audio, and enjoy the amplified sound!
Conclusion
Congratulations! You have successfully assembled a simple power amplifier from scratch. Power amplifiers are vital components in audio systems, and by understanding their basic principles and following the step-by-step guide provided in this article, you can now create your own power amplifier. Always remember to follow safety procedures while dealing with high-voltage components, and connect and test the amplifier under the supervision of an experienced individual if you are new to electronics. As you gain more experience, you can explore more advanced amplifier designs and configurations. Happy amplifying!
If you are searching about Tips Cara Merakit Power Amplifier 400W Sendiri 2018 – Hiperelektro you’ve visit to the right page. We have 3 Images about Tips Cara Merakit Power Amplifier 400W Sendiri 2018 – Hiperelektro like Cara Merakit Power Amplifier Sederhana – Ilmu Listrik dan Elektronik, Tips Cara Merakit Power Amplifier 400W Sendiri 2018 – Hiperelektro and also Tips Cara Merakit Power Amplifier 400W Sendiri 2018 – Hiperelektro. Read more:
Tips Cara Merakit Power Amplifier 400W Sendiri 2018 – Hiperelektro

hiperelektro.blogspot.com
merakit 400w sendiri
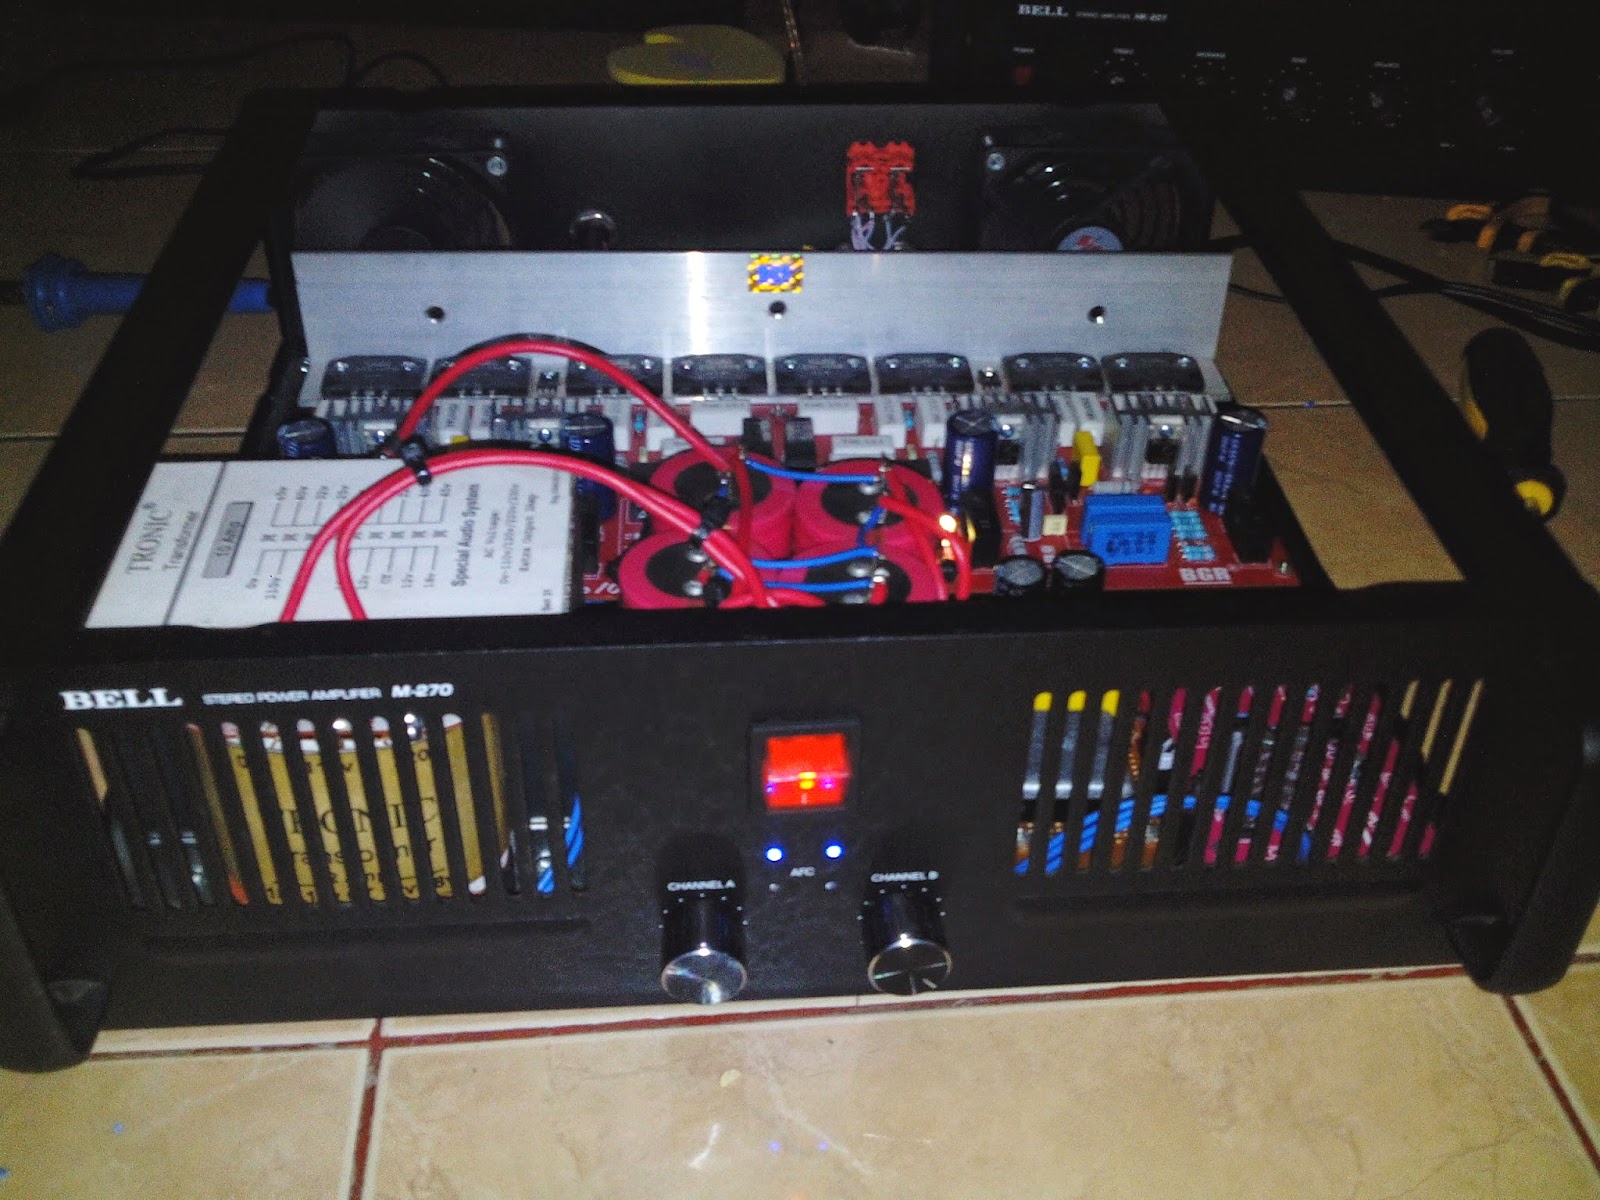
Cara Merakit Power Amplifier Sederhana – Ilmu Listrik Dan Elektronik
www.jasalistrik.com
amplifier merakit watt sederhana bahan alat
Cara Merakit Power Amplifier 150 Watt – Ilmu Listrik Dan Elektronik
www.jasalistrik.com
merakit amplifier perakitan
Amplifier merakit watt sederhana bahan alat. Cara merakit power amplifier sederhana. Tips cara merakit power amplifier 400w sendiri 2018